1、WordPress介绍
官网:https://wordpress.com/zh-cn/
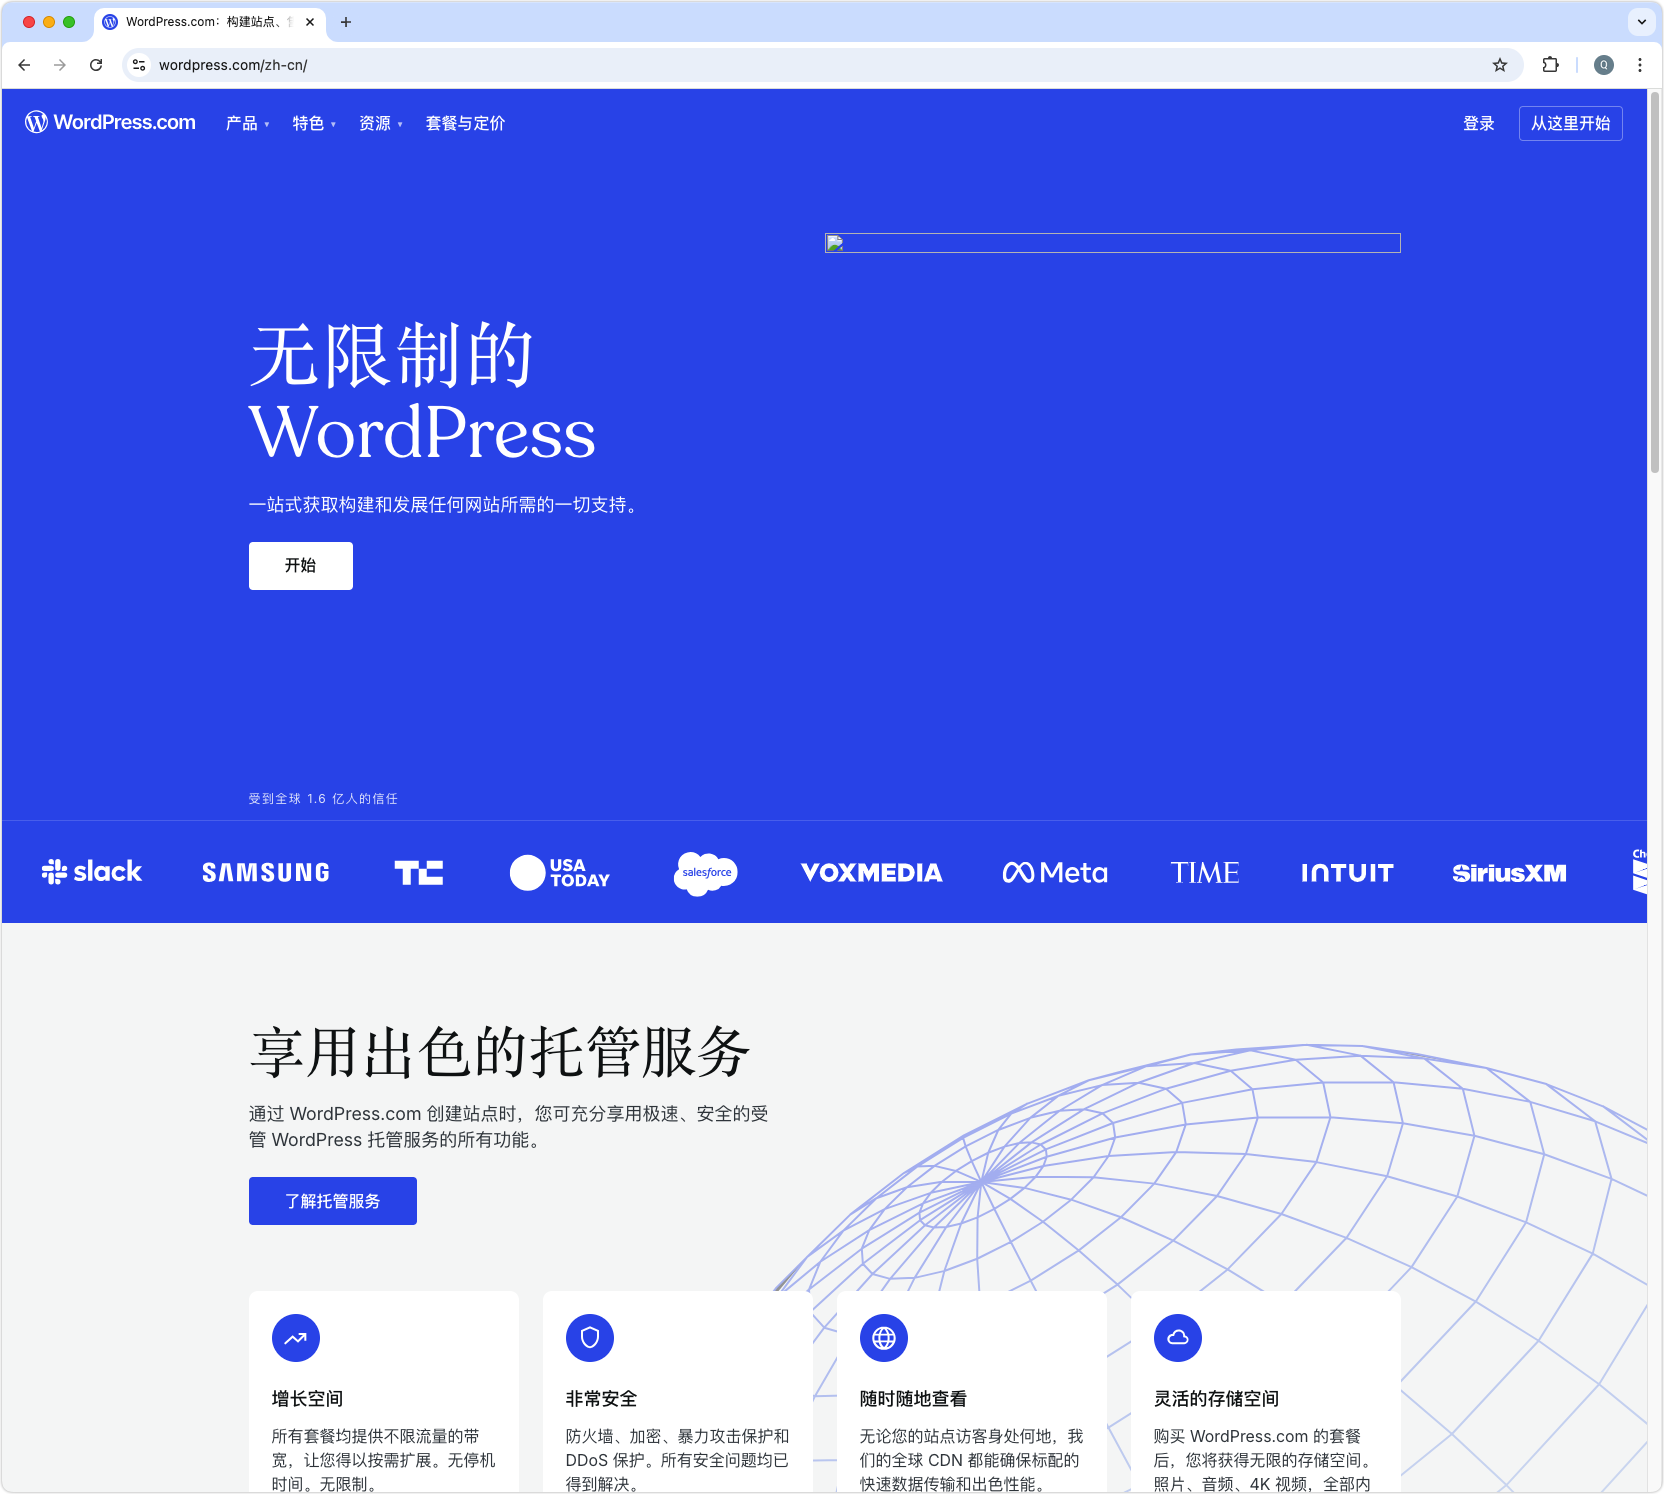
WordPress是一种基于php编程语言开发的CMS管理系统,WordPress有丰富的插件和模板,用户可以快速搭建一套功能十分强大的内容管理系统,使用WordPress可以做多种类型的网站,比如新闻发布网站、企业门户、个人技术博客等。
今天给大家分享一下通过docker快速部署一套WordPress系统,感兴趣的朋友可以一起来学习一下!
2、Dcoker快速部署WordPress
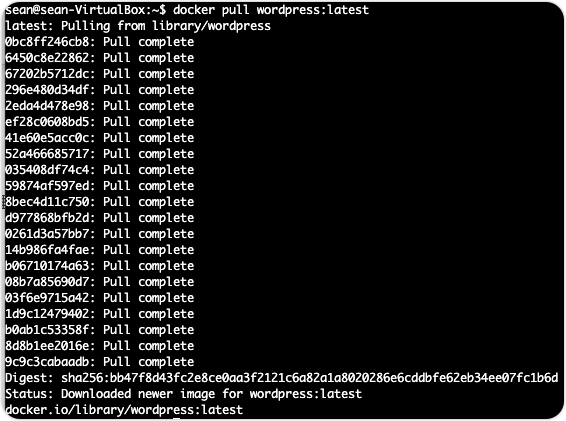
2.1 首先要拉取WordPress最新版本的镜像
$ docker pull wordpress:latest
latest: Pulling from library/wordpress
0bc8ff246cb8: Pull complete
6450c8e22862: Pull complete
67202b5712dc: Pull complete
296e480d34df: Pull complete
2eda4d478e98: Pull complete
ef28c0608bd5: Pull complete
41e60e5acc0c: Pull complete
52a466685717: Pull complete
035408df74c4: Pull complete
59874af597ed: Pull complete
8bec4d11c750: Pull complete
d977868bfb2d: Pull complete
0261d3a57bb7: Pull complete
14b986fa4fae: Pull complete
b06710174a63: Pull complete
08b7a85690d7: Pull complete
03f6e9715a42: Pull complete
1d9c12479402: Pull complete
b0ab1c53358f: Pull complete
8d8b1ee2016e: Pull complete
9c9c3cabaadb: Pull complete
Digest: sha256:bb47f8d43fc2e8ce0aa3f2121c6a82a1a8020286e6cddbfe62eb34ee07fc1b6d
Status: Downloaded newer image for wordpress:latest
docker.io/library/wordpress:latest
2.2 安装mysql
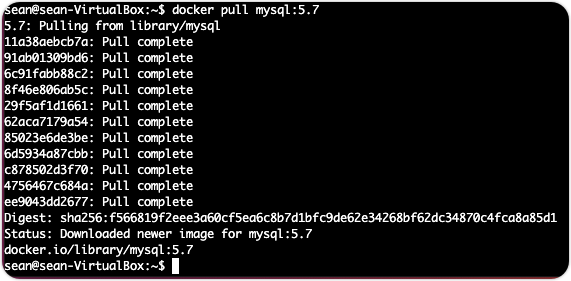
wordpress基于php+mysql 所以需要安装mysql数据库,这里安装mysql5.7 版本。用下面的命令获取镜像:
$ docker pull mysql:5.7
5.7: Pulling from library/mysql
11a38aebcb7a: Pull complete
91ab01309bd6: Pull complete
6c91fabb88c2: Pull complete
8f46e806ab5c: Pull complete
29f5af1d1661: Pull complete
62aca7179a54: Pull complete
85023e6de3be: Pull complete
6d5934a87cbb: Pull complete
c878502d3f70: Pull complete
4756467c684a: Pull complete
ee9043dd2677: Pull complete
Digest: sha256:f566819f2eee3a60cf5ea6c8b7d1bfc9de62e34268bf62dc34870c4fca8a85d1
Status: Downloaded newer image for mysql:5.7
docker.io/library/mysql:5.7
先运行mysql数据库
$ docker run -d --privileged=true --name mysql5.7 -v /data/mysql:/var/lib/mysql -e MYSQL_ROOT_PASSWORD=123456 -p 3306:3306 mysql:5.7
7c1516381498fe7e76609f1bacd7499e5400df846662a41c0a0e25195eabe81b
$ docker ps
CONTAINER ID   IMAGE                           COMMAND                   CREATED             STATUS             PORTS                                                  NAMES
7c1516381498   mysql:5.7                       "docker-entrypoint.s…"   11 seconds ago      Up 9 seconds       33060/tcp, 0.0.0.0:3206->3306/tcp, :::3206->3306/tcp   mysql5.7
参数说明:
- -p: 端口映射,这里表示将宿主机的3206映射给镜像的3306.
- -e: 环境变量,设置镜像中MySQL的root 密码时123456
- --name: 容器名称 mysql5.7
- --privileged=true: CentOS系统下的安全Selinux禁止了一些安全权限,导致MySQL容器在运行时会因为权限不足而报错,所以需要增加该选项
- -v: 挂载目录,将MySQL容器的/var/lib/mysql映射到宿主机的/data/mysql
进入到容器里面,先创建wordpress的数据库。
$ docker exec -it mysql5.7 /bin/bash
bash-4.2# mysql -uroot -p123456
mysql: [Warning] Using a password on the command line interface can be insecure.
Welcome to the MySQL monitor.  Commands end with ; or \g.
Your MySQL connection id is 5
Server version: 5.7.44 MySQL Community Server (GPL)

Copyright (c) 2000, 2023, Oracle and/or its affiliates.

Oracle is a registered trademark of Oracle Corporation and/or its
affiliates. Other names may be trademarks of their respective
owners.

Type 'help;' or '\h' for help. Type '\c' to clear the current input statement.

mysql> create database wordpress;
Query OK, 1 row affected (0.00 sec)

mysql> show databases;
+--------------------+
| Database           |
+--------------------+
| information_schema |
| mysql              |
| performance_schema |
| sys                |
| wordpress          |
+--------------------+
5 rows in set (0.00 sec)
2.3 运行wordpress容器
docker run --name wp -p 80:80 -d wordpress

参数说明:
- --link链接到MySQL容器的名称
- -p 8080:80 开放8080端口
3、浏览器访问测试
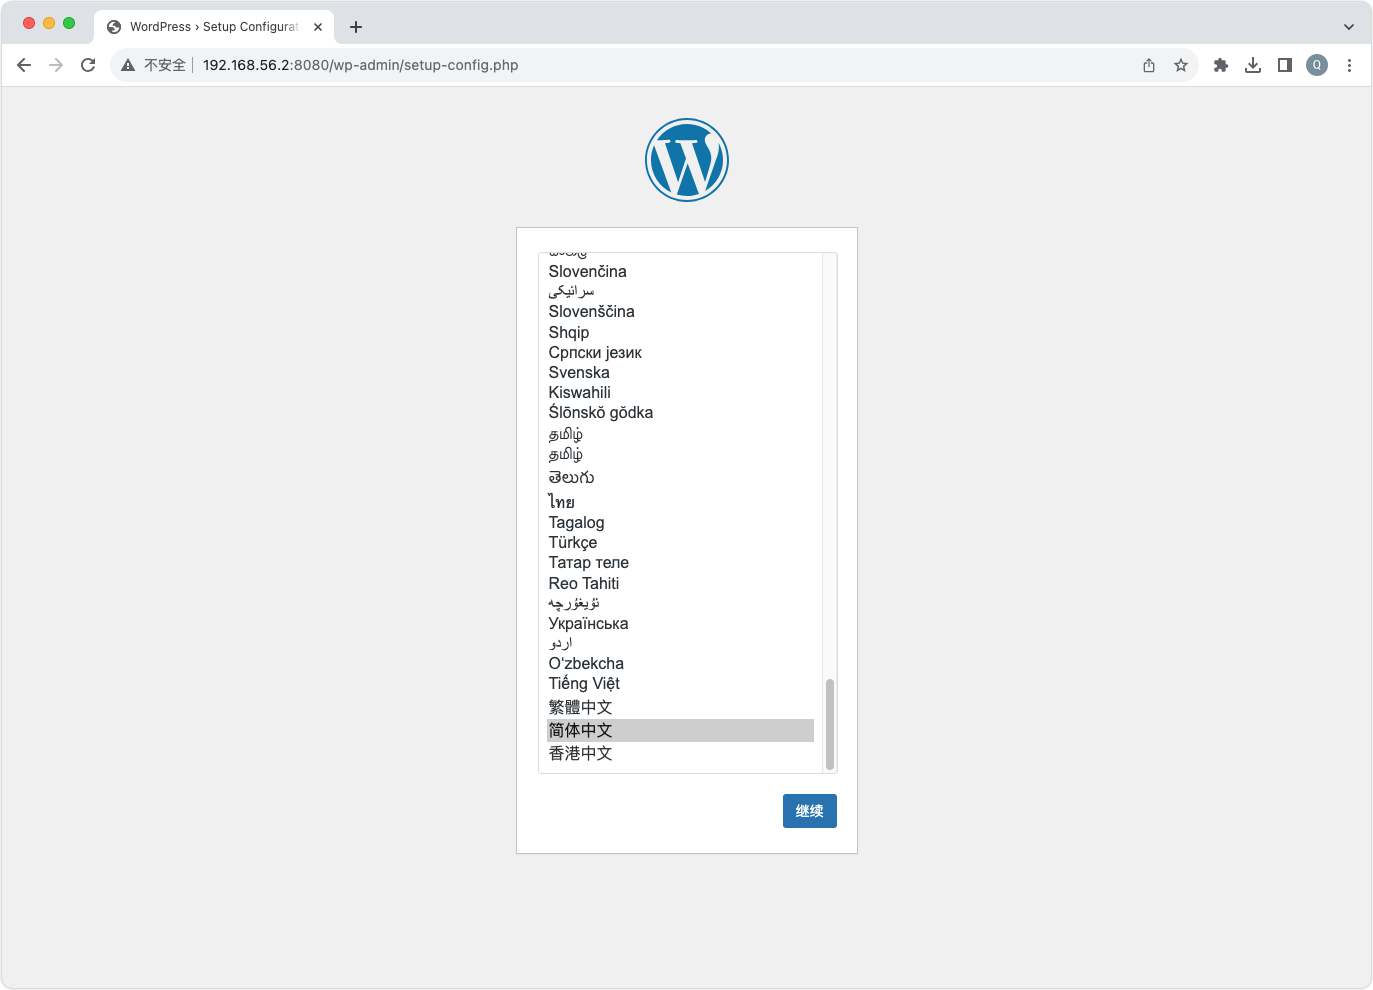
输入你的公网ip+8080 测试是否可以正常访问。效果如下图:
示例:127.0.0.1:8080
选择安装语言为简体中文
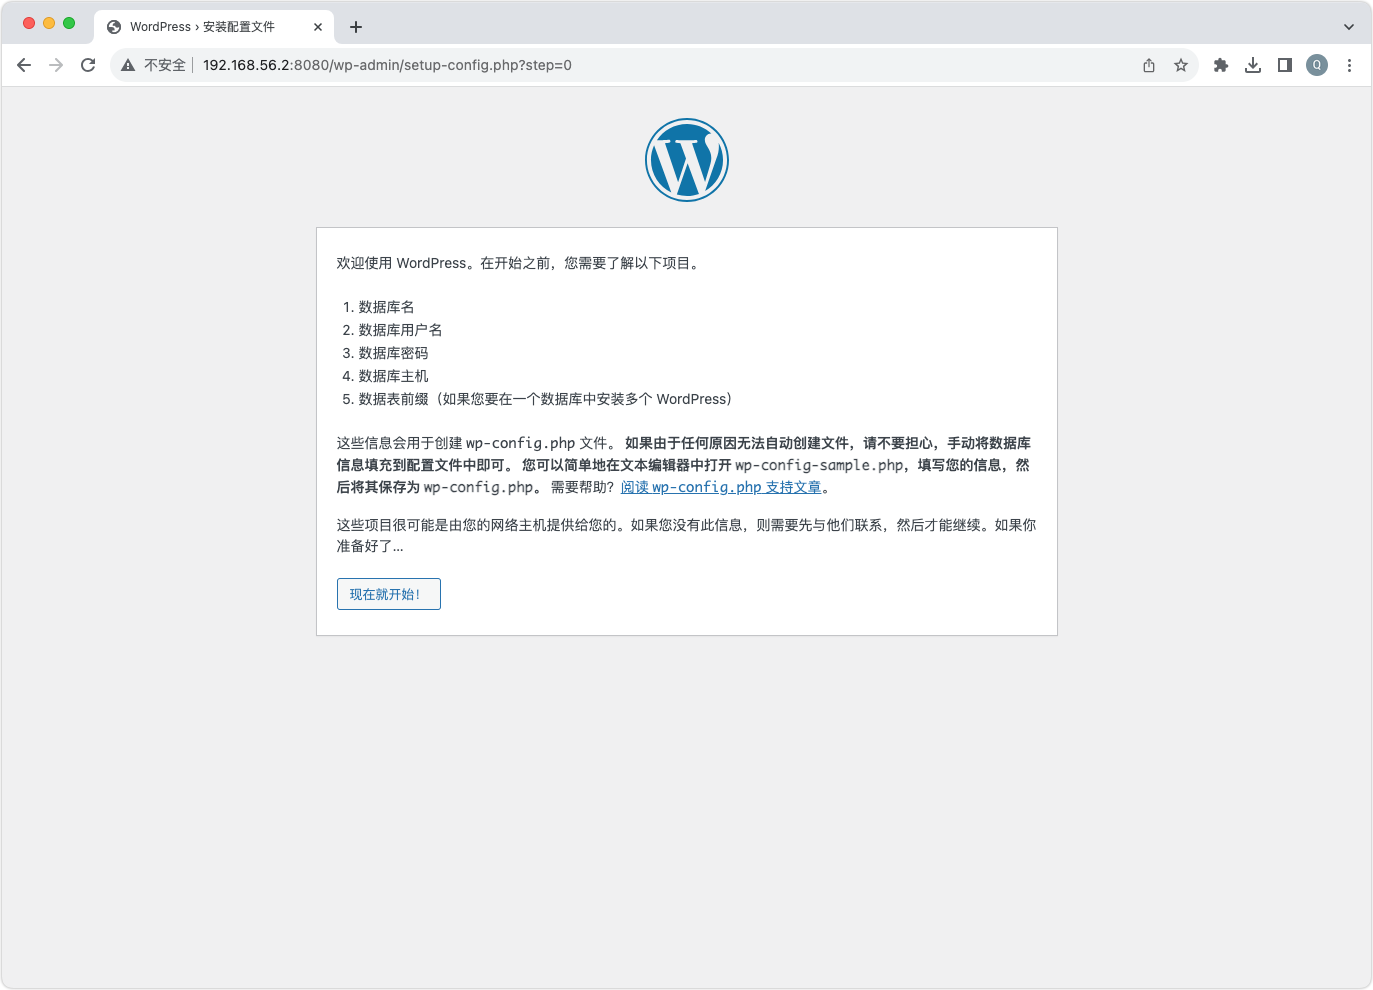
点击现在开始,进入页面配置mysql数据库信息。
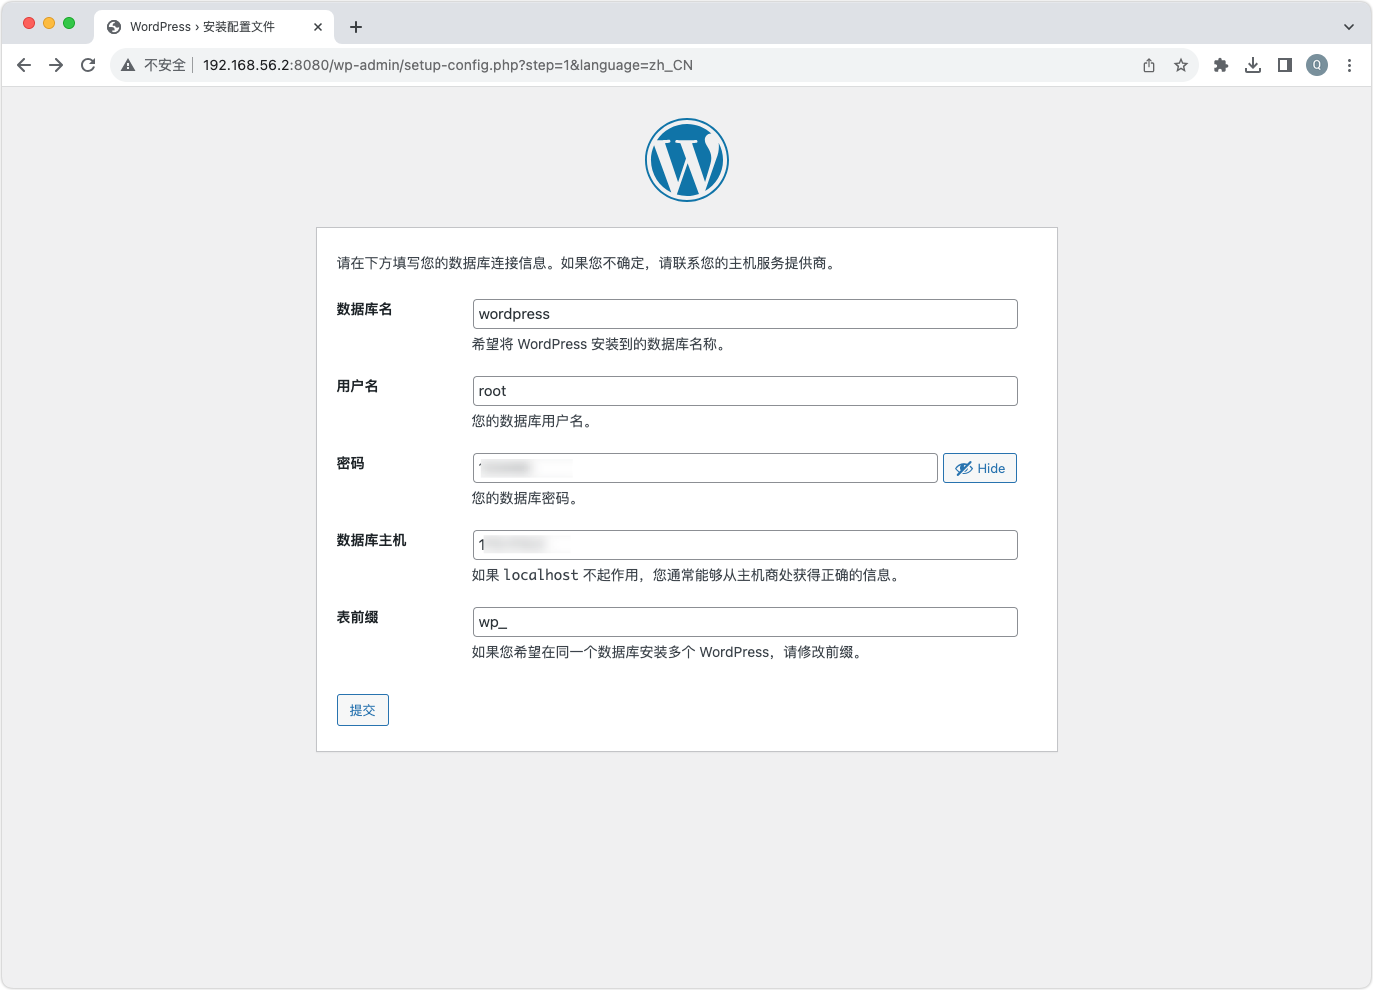
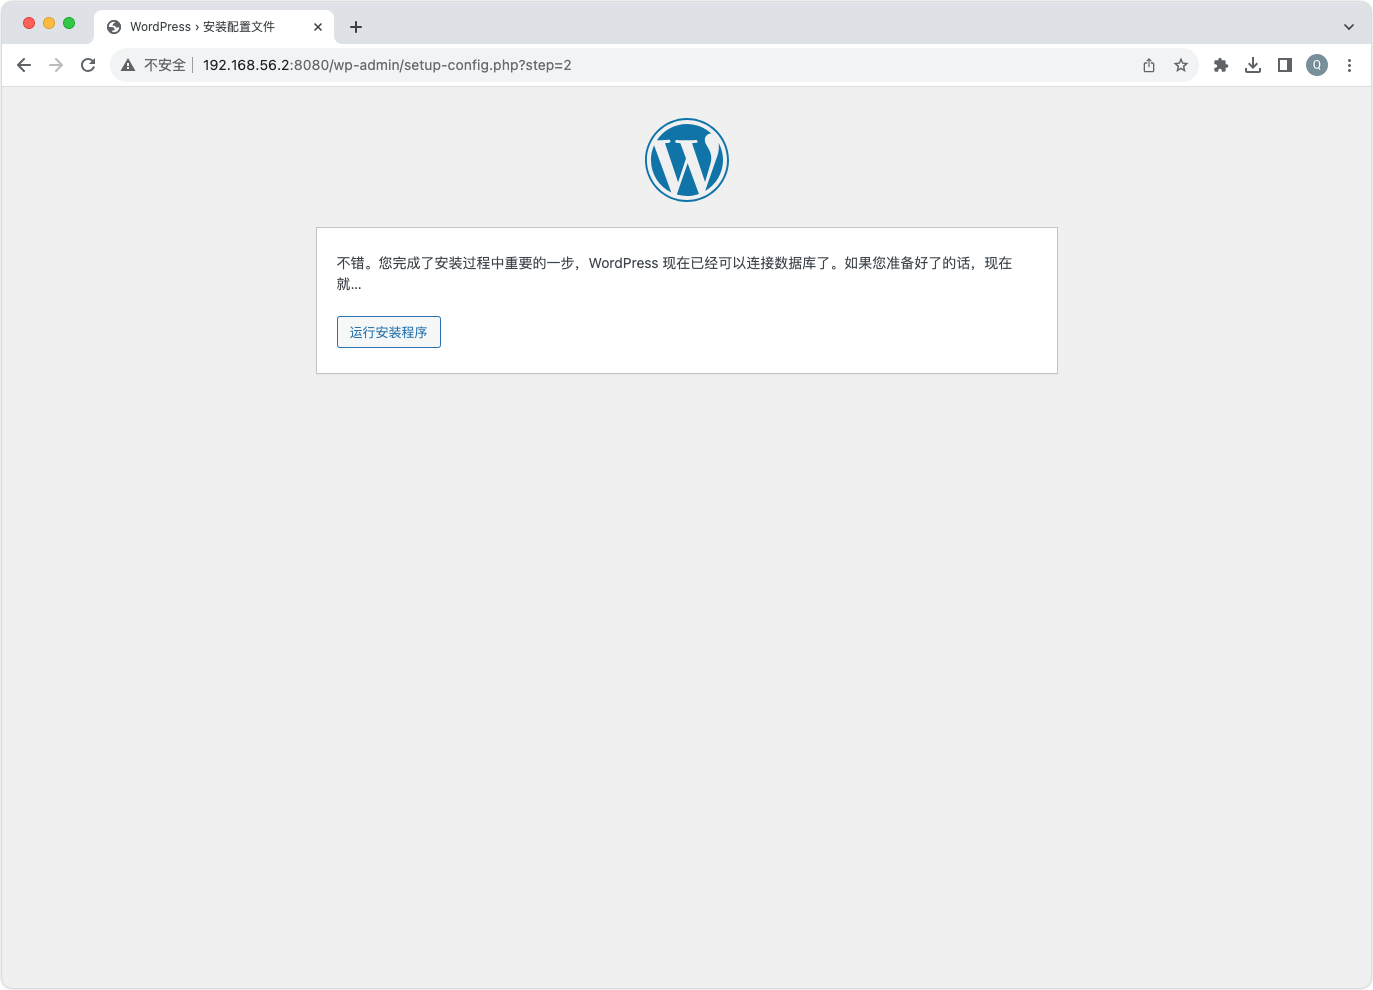
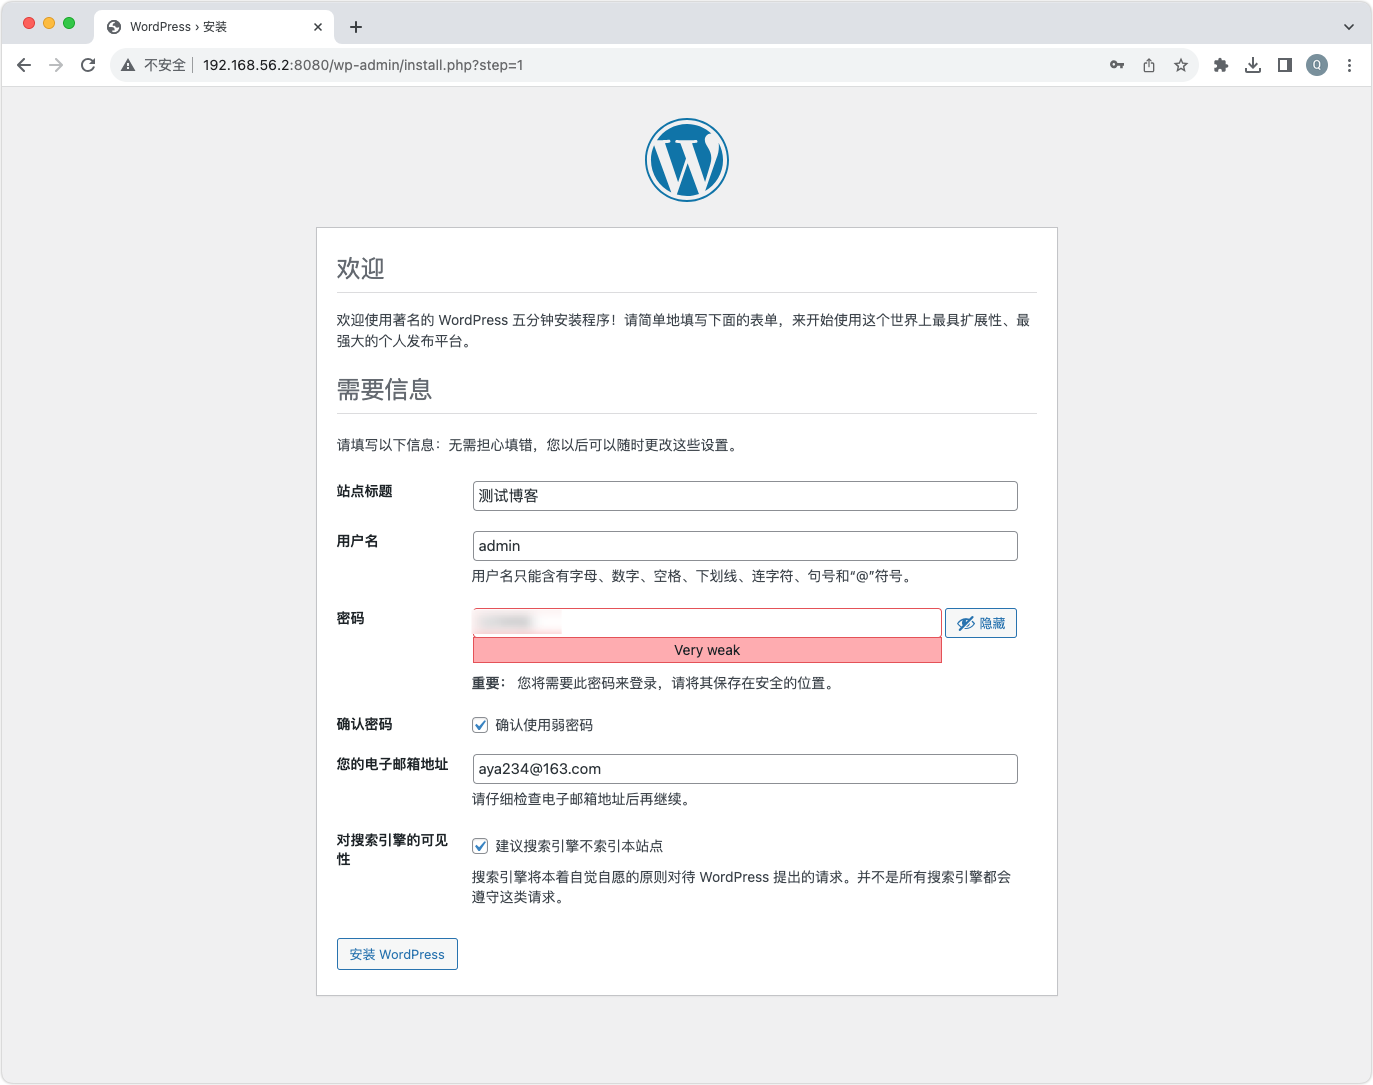
输入网站信息,比如网站标题、登录用户名、密码等。
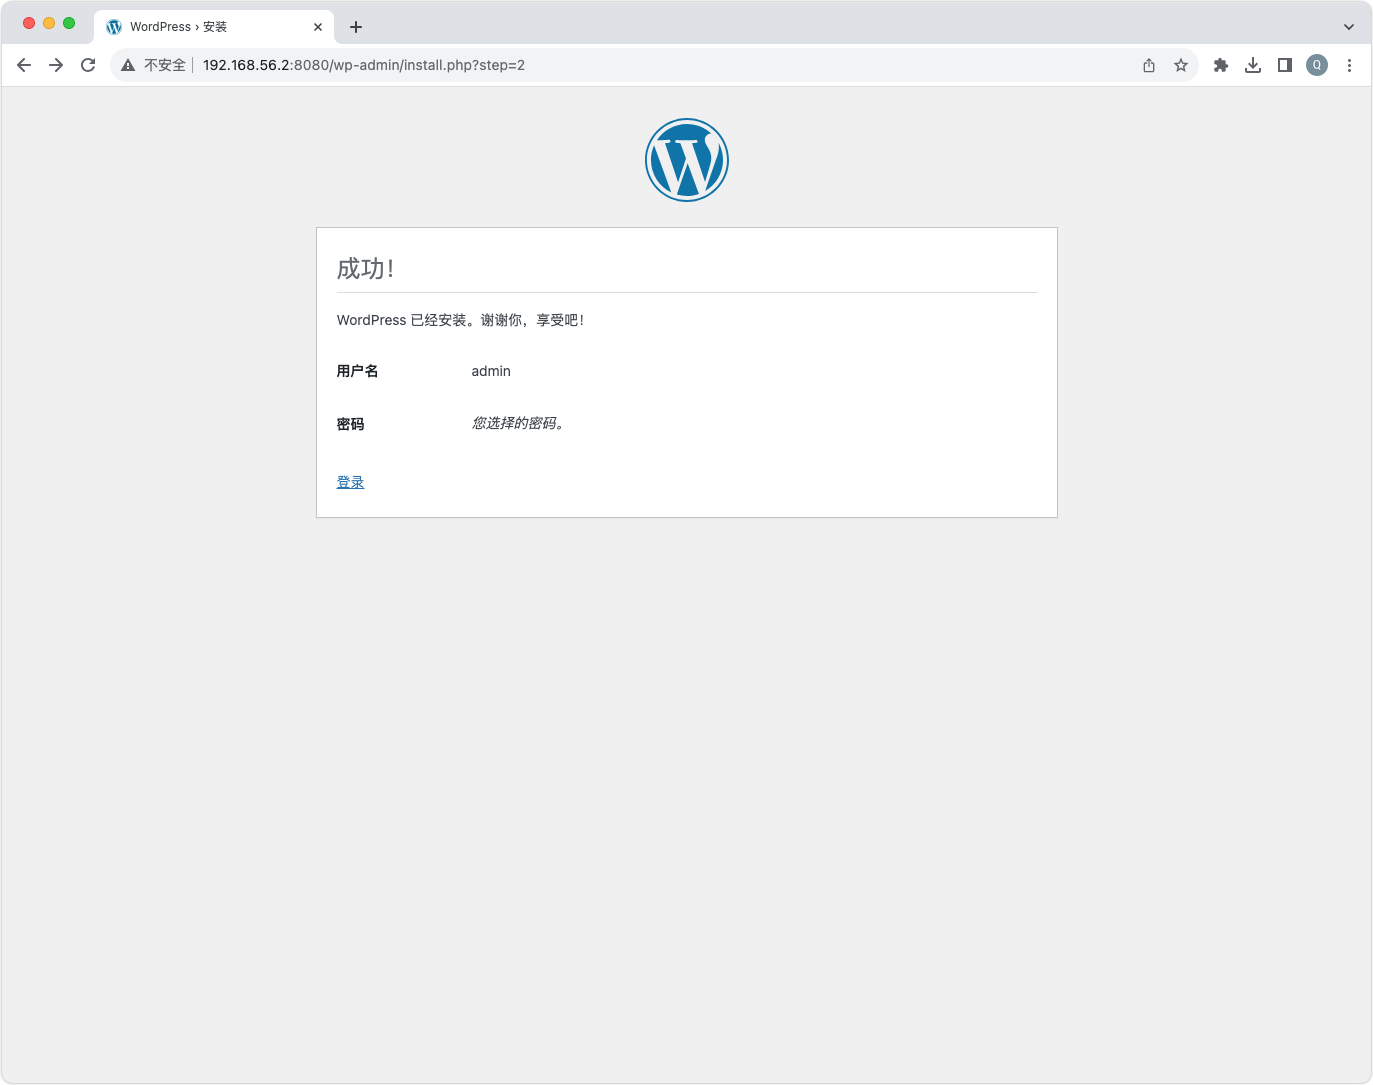
然后安装就成功了。
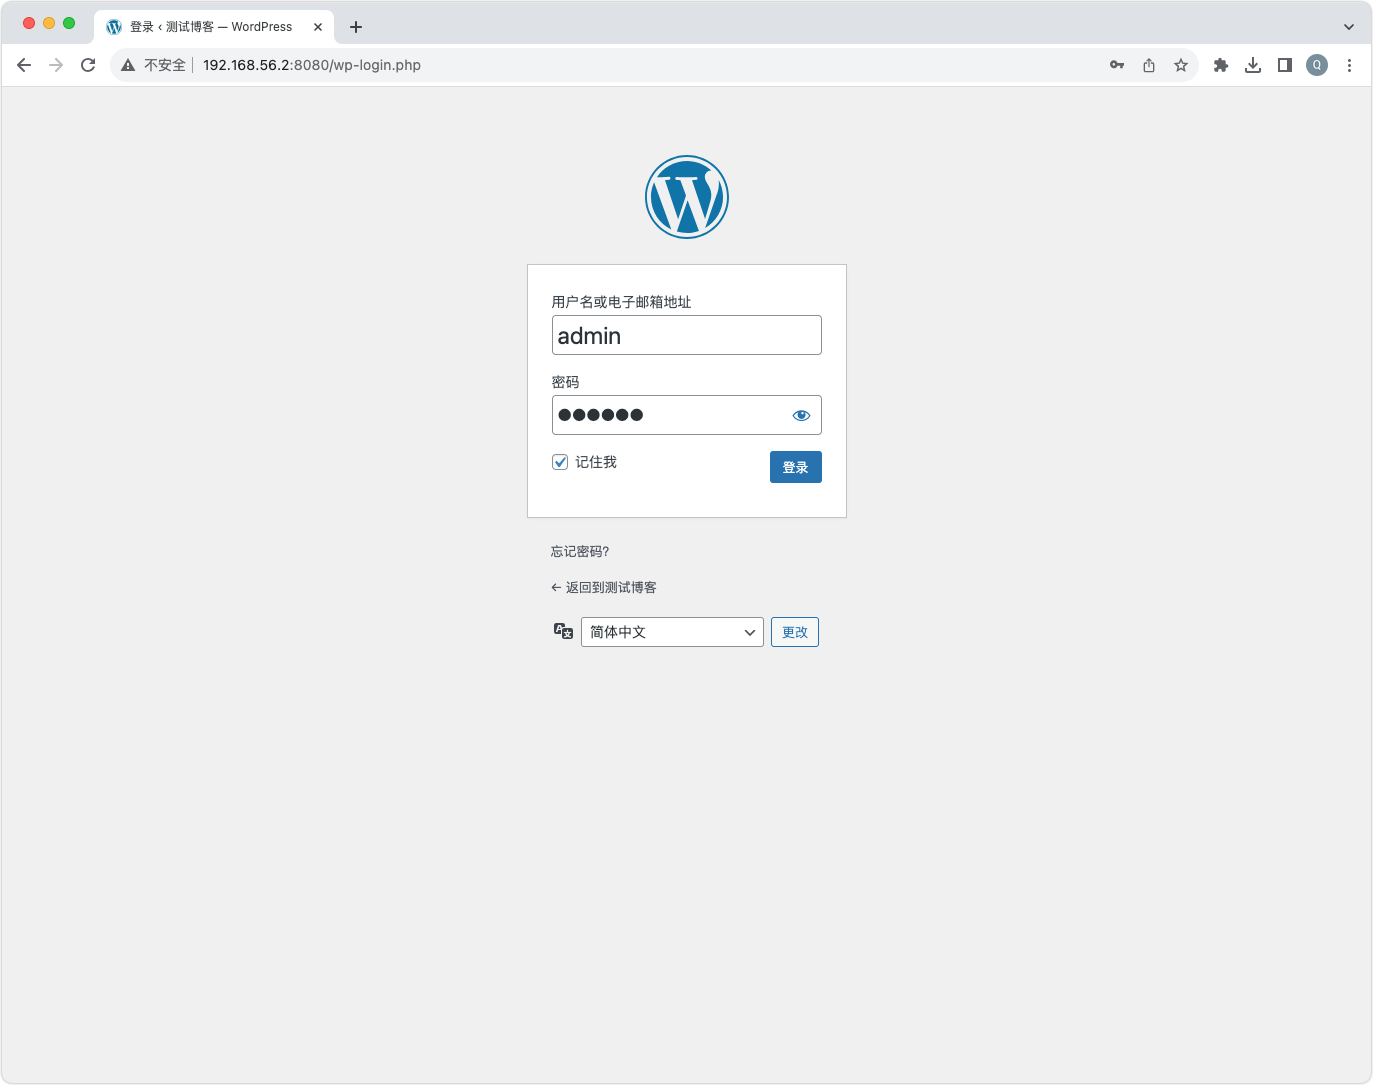
登录系统
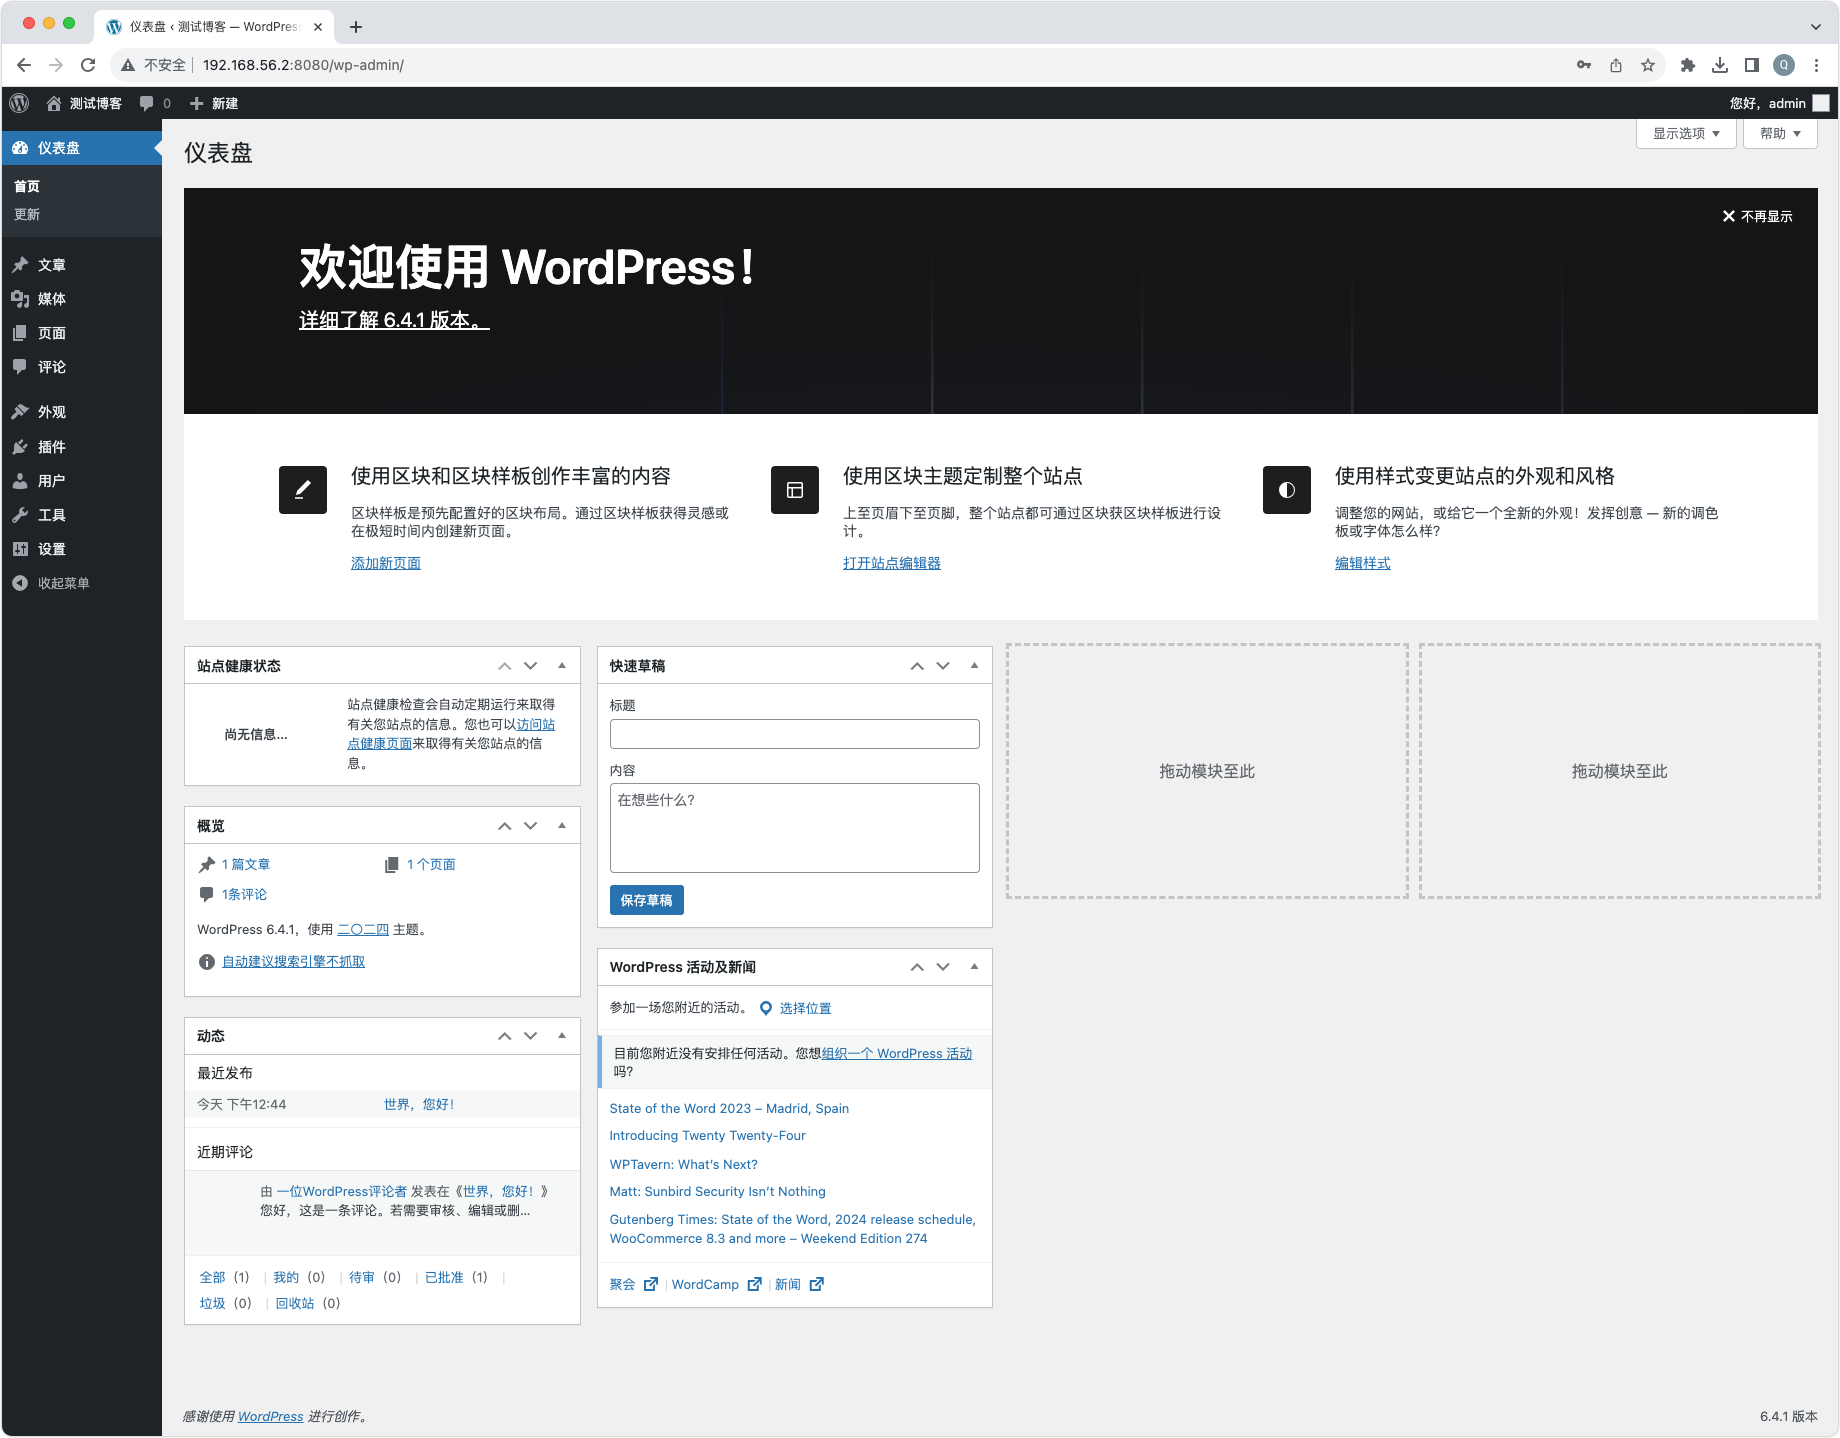
登录后的管理主界面